
Photography Tips
Newborn Photography: The Complete Guide to Capturing Your Baby’s First Days

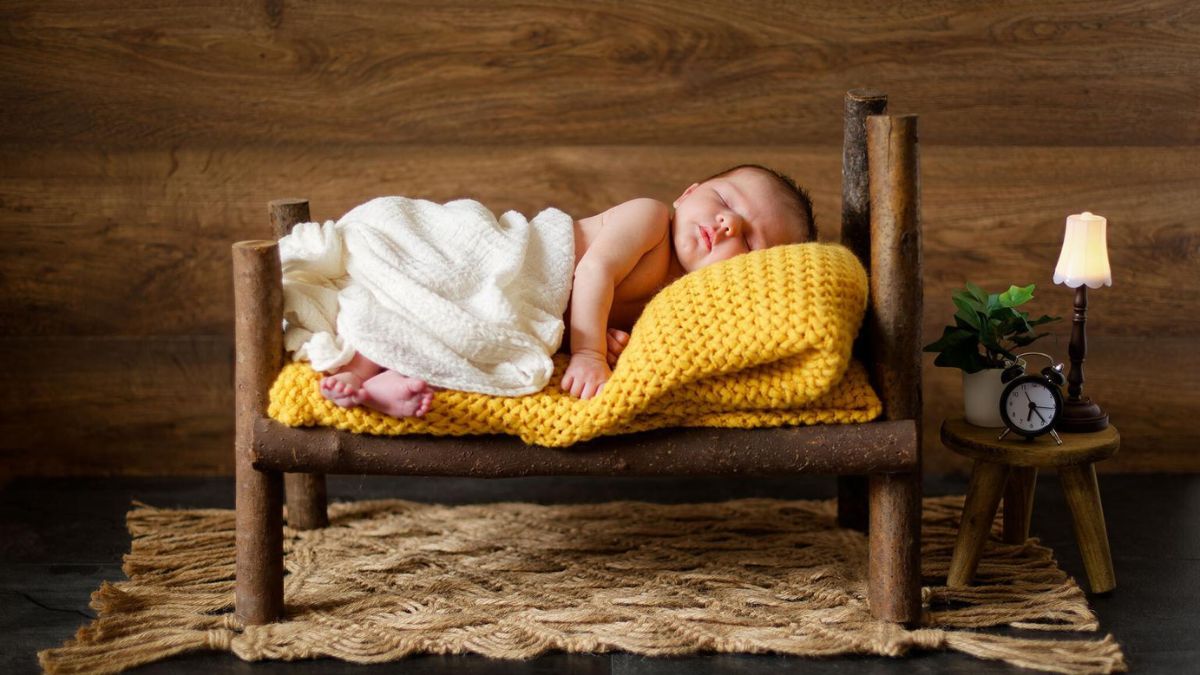
Bringing a new baby home is one of life’s most emotional milestones, and newborn photography is how so many families choose to freeze that fleeting chapter forever. Those tiny fingers, the delicate yawns, the impossibly soft skin — they change so fast that many parents want a professional record before the moment slips away. If you’re planning a session or thinking about starting a career in this niche, this guide walks you through everything you need to know.
What Is Newborn Photography?
Newborn photography is a specialized genre of portrait photography focused on capturing babies typically within the first two weeks of life. This window matters because newborns sleep more deeply, curl naturally into womb-like poses, and haven’t yet developed the startle reflexes that make posing tricky later on.
Unlike standard family portraits, newborn sessions require specific skills: gentle handling, patience, safety awareness, and an eye for soft, storytelling detail. It’s part art, part logistics, and part trust-building with exhausted new parents.
Why Timing Matters So Much
Most photographers recommend booking a session before the baby arrives, then scheduling the actual shoot within 5 to 14 days after birth. Waiting longer isn’t a dealbreaker, but babies become more alert, less flexible for posing, and prone to baby acne or other temporary skin changes that fade with time.
Popular Newborn Photography Styles
Not every family wants the same look. Here’s a quick breakdown of the most requested styles today.
| Style | Description | Best For |
|---|---|---|
| Posed Studio | Curled poses, wraps, and props in a controlled setting | Classic, timeless portraits |
| Lifestyle | Candid moments at home with natural light | Parents who want authenticity |
| Composite | Multiple images blended into one artistic frame | Creative, unique wall art |
| Black and White | Focus on emotion and texture over color | Editorial, timeless feel |
| Family-Inclusive | Siblings and parents included in shots | Documenting the whole family unit |
Each style calls for a different setup, so it’s worth discussing preferences with your photographer — or your clients — well before the due date.
Essential Equipment for Newborn Sessions
You don’t need a warehouse of gear, but a few tools make a real difference in both safety and image quality.
- A fast prime lens (50mm or 85mm) for soft background blur
- A space heater to keep the room warm enough for bare-skin poses
- White noise machine to help babies settle
- Posing beanbag with sturdy support
- Soft wraps, blankets, and neutral-toned backdrops
- A reflector or diffused window light source
Natural light is often preferred because it creates a gentle, flattering glow without harsh shadows. Many photographers position their posing area right beside a large window for this reason.
How to Prepare for a Newborn Photography Session
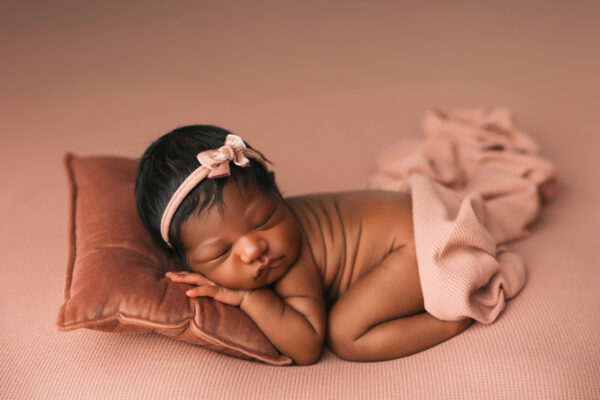
Before the Shoot
Parents should feed the baby right before arriving or right at the start of the session. A full, sleepy baby is far easier to pose than a hungry, fussy one. It also helps to keep the house or studio warm, since babies settle better in a cozy environment.
During the Shoot
Sessions typically last two to four hours, which surprises a lot of first-time parents. That time includes feeding breaks, soothing pauses, and slow, careful posing. Rushing is never worth the risk, so a good photographer builds in plenty of buffer time.
After the Shoot
Once the images are captured, editing usually takes one to three weeks depending on the photographer’s workflow. This includes skin retouching, color correction, and removing any visible wraps or supports used for safe posing.
Newborn Photography: Pros and Cons
Pros:
- Preserves memories from a stage that lasts only days
- Creates heirloom-quality images for generations
- Offers a calm, guided experience for overwhelmed new parents
- Builds a portfolio niche with strong client demand for photographers
Cons:
- Requires specialized safety training and patience
- Sessions are long and physically demanding
- Equipment and props can be a significant upfront investment
- Scheduling is unpredictable since babies arrive on their own timeline
Common Mistakes in Newborn Photography
Even experienced photographers slip up occasionally, but new parents and beginners make these mistakes most often.
- Skipping safety precautions. Never leave a baby unsupported on a prop, even for a second. Composite shots exist specifically to avoid risky poses.
- Ignoring room temperature. A cold room leads to a fussy, uncooperative baby and a much longer session.
- Overplanning the schedule. Trying to force a shoot into a tight one-hour slot almost always backfires.
- Using harsh lighting. Direct flash or unflattering overhead light can wash out delicate newborn skin tones.
- Waiting too long to book. Studios booked past the two-week window often can’t offer that classic curled-up newborn look.
Best Practices for Stunning Newborn Photos
| Practice | Why It Matters |
|---|---|
| Book early, ideally during pregnancy | Guarantees availability within the ideal newborn window |
| Keep the space warm (80°F+) | Helps baby stay calm and sleep through posing |
| Use a white noise machine | Mimics womb sounds and soothes fussiness |
| Prioritize safety over the “perfect” pose | Composite editing can achieve tricky poses safely |
| Communicate with parents throughout | Reduces anxiety and builds trust during long sessions |
Following these habits consistently is often what separates a good newborn photographer from a great one.
Choosing the Right Newborn Photographer
Not every portrait photographer has newborn-specific training, and that distinction matters. Look for someone who:
- Has documented safety certification or verifiable experience
- Shows a full portfolio, not just a handful of curated shots
- Explains their posing and safety process clearly
- Offers a relaxed, unhurried session structure
Asking to see a full, unedited gallery from a past session can reveal a lot about a photographer’s real skill level, beyond their highlight reel.
Final Thoughts
Newborn photography captures a chapter of life that genuinely never comes back. Whether you’re a parent booking your first session or a photographer refining your craft, the details — timing, temperature, safety, and patience — make all the difference between a forgettable shoot and images a family will treasure forever. Plan ahead, prioritize comfort and safety, and let the natural beauty of those first days speak for itself.
Frequently Asked Questions
1. When is the best time to schedule a newborn photography session?
The ideal window is within the first 5 to 14 days after birth, when babies sleep deeply and curl naturally into soft poses.
2. How long does a typical newborn photo session take?
Most sessions run between two and four hours, including feeding breaks and gentle soothing time.
3. Is newborn photography safe for such a young baby?
Yes, when handled by a trained photographer who follows proper safety protocols, uses supportive props correctly, and never leaves the baby unattended.
4. What should parents bring to a newborn photography session?
Extra diapers, feeding supplies, a comfort item, and any special outfits or heirlooms they’d like included in the photos.
5. How much does professional newborn photography typically cost?
Pricing varies widely by region and package, but sessions commonly range from a few hundred to over a thousand dollars depending on included prints and editing.
/ You May Also Read /
15 Best Places to Take Pictures Near Me for Stunning Photos in 2025
Challenges of Photography: Common Obstacles Every Photographer Faces and How to Overcome Them
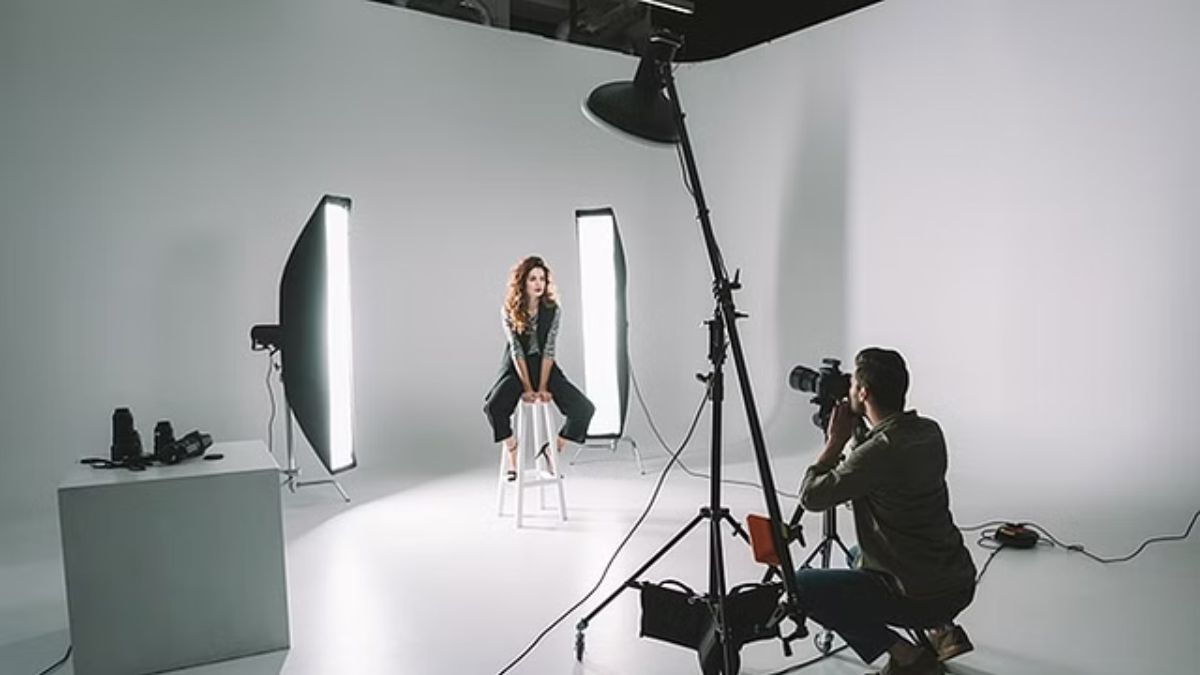
If you’ve ever wondered why some photos look magazine-worthy while others feel flat and lifeless, the answer almost always comes down to light. Learning photography lighting basics is the single fastest way to level up your images, whether you’re shooting portraits, products, or landscapes. Light shapes mood, defines texture, and tells your viewer where to look. Once you understand how it works, your camera settings start making a lot more sense too.
This guide breaks down everything a beginner needs to know about lighting, from natural light to studio setups, without drowning you in technical jargon.
What Is Photography Lighting?
Photography lighting refers to how light interacts with your subject and camera sensor to create an image. It includes the light’s direction, intensity, color, and quality (hard or soft). Every photo you’ve ever taken was shaped by these four factors, whether you controlled them intentionally or not.
Understanding lighting isn’t about memorizing rules. It’s about learning to see light the way your camera sees it, then adjusting your position, equipment, or settings to get the result you want.
Why Lighting Matters More Than Gear
A lot of beginners assume better cameras produce better photos. In reality, a $200 camera in great light will almost always beat a $3,000 camera in bad light. Light determines exposure, contrast, color accuracy, and emotional tone. Gear just captures what’s already there.
Types of Light Every Photographer Should Know
There are two broad categories of light sources, and knowing the difference helps you plan any shoot.
Natural Light
Natural light comes from the sun and changes throughout the day. It’s free, abundant, and incredibly versatile once you learn to work with it.
- Golden hour – soft, warm light shortly after sunrise or before sunset
- Midday sun – harsh, direct light that creates strong shadows
- Overcast light – naturally diffused, ideal for even skin tones
- Blue hour – cool, moody light just before sunrise or after sunset
Artificial Light
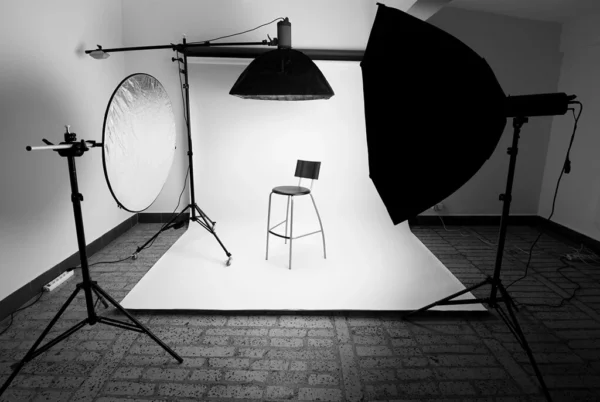
Artificial light gives you full control over direction and intensity, which is why most professional studios rely on it.
- Continuous lighting – LED panels or lamps that stay on, letting you see results in real time
- Strobe lighting – powerful flashes triggered at the moment of capture
- Speedlights – portable flash units great for on-location shoots
- Ring lights – popular for beauty and video content, producing even, shadowless light
Understanding Light Quality: Hard vs Soft Light
One of the most important photography lighting basics is learning to control hard and soft light, since this single factor changes the entire feel of a photo.
| Light Type | Characteristics | Best Used For |
|---|---|---|
| Hard Light | Sharp shadows, high contrast, small light source or direct sun | Dramatic portraits, product edges, moody scenes |
| Soft Light | Gentle shadows, smooth transitions, large or diffused light source | Beauty shots, product photography, flattering portraits |
| Mixed Light | Combination of hard and soft sources | Editorial and lifestyle photography |
Soft light comes from a larger light source relative to the subject, or from diffusing material like clouds, softboxes, or bounce cards. Hard light comes from a small, direct source like the midday sun or a bare flash.
The Three-Point Lighting Setup
This classic lighting framework is one of the first techniques taught in any photography course, and for good reason. It works reliably for portraits, interviews, and product shots.
Key Light
The main light source, usually placed at a 45-degree angle to the subject. It sets the overall exposure and mood.
Fill Light
A softer, dimmer light placed opposite the key light. It reduces harsh shadows without eliminating them completely.
Back Light
Positioned behind the subject, this separates them from the background and adds depth to the image.
| Light Role | Position | Intensity | Purpose |
|---|---|---|---|
| Key Light | 45° angle to subject | Strongest | Main exposure and shadow direction |
| Fill Light | Opposite the key light | Weaker | Softens shadows |
| Back Light | Behind the subject | Moderate | Adds separation and depth |
Practical Examples for Everyday Shooting
You don’t need a studio to practice good lighting. Here are a few real-world scenarios beginners run into often.
- Shooting portraits near a window: Position your subject facing the window so light falls evenly across their face, then use a white poster board on the opposite side as a makeshift fill light.
- Photographing food: Use soft, indirect daylight from the side rather than overhead light, which creates unflattering shadows on dishes.
- Outdoor portraits at noon: Move your subject into open shade, like under a tree or awning, to avoid harsh sun and squinting eyes.
- Product photography at home: Place your item near a large window with sheer curtains acting as a natural diffuser.
Pros and Cons of Natural vs Artificial Light
| Aspect | Natural Light | Artificial Light |
|---|---|---|
| Cost | Free | Requires equipment investment |
| Consistency | Changes throughout the day | Fully controllable and repeatable |
| Portability | Always available outdoors | Needs setup and power source |
| Learning Curve | Easier to start with | Takes practice to master |
| Flexibility | Limited by weather and time | Works any time, indoors or out |
Both approaches have a place in a photographer’s toolkit, and many professionals blend the two depending on the shoot.
Common Lighting Mistakes Beginners Make
Even experienced hobbyists fall into these traps from time to time.
- Shooting with the light source behind the subject without compensating exposure, resulting in silhouettes
- Ignoring color temperature, which causes unwanted orange or blue color casts
- Using on-camera flash directly, creating flat, harsh lighting with red-eye issues
- Placing subjects in dappled shade, where patchy light creates distracting spots on skin
- Overexposing highlights by not checking the camera’s histogram
Avoiding these mistakes often comes down to slowing down and actually observing the light before pressing the shutter.
Best Practices for Better Lighting Results
- Always check where shadows fall on your subject’s face before shooting
- Use a reflector or white surface to bounce light into shadow areas
- Shoot during golden hour whenever outdoor portraits are the goal
- Diffuse harsh light with a scrim, sheer curtain, or softbox
- Watch your white balance settings to keep colors accurate
- Position your key light at an angle rather than straight on for more dimension
- Practice with one light source before adding complexity
Conclusion
Mastering photography lighting basics doesn’t happen overnight, but it’s one of the most rewarding skills you can build as a photographer. Once you start noticing how light falls, bends, and shapes your subject, you’ll find yourself making better decisions before you even pick up the camera. Start small, experiment with natural light near a window, then gradually explore artificial setups as your confidence grows. Good lighting turns an ordinary photo into one people actually stop and look at.
Frequently Asked Questions
What is the most important lighting technique for beginners to learn?
Understanding the difference between hard and soft light is the most foundational skill, since it affects shadows, mood, and overall image quality in every shoot.
Is natural light better than artificial light for photography?
Neither is inherently better. Natural light is easier for beginners and free, while artificial light offers more control and consistency for professional work.
What time of day has the best natural light for photos?
Golden hour, the period shortly after sunrise or before sunset, offers soft, warm, flattering light that most photographers prefer for portraits.
Do I need expensive equipment to practice lighting basics?
No. A window, a white poster board as a reflector, and basic awareness of light direction are enough to practice core lighting principles.
What causes harsh shadows in photos and how do I avoid them?
Harsh shadows come from small, direct light sources like midday sun or bare flash. Diffusing the light with a scrim, softbox, or open shade softens these shadows significantly.
/ You May Also Read /
Wedding Photography Packages: Complete Guide to Pricing, Coverage, and Value
Photography in the Studio: Essential Tips and Setup Guide for Better Shots
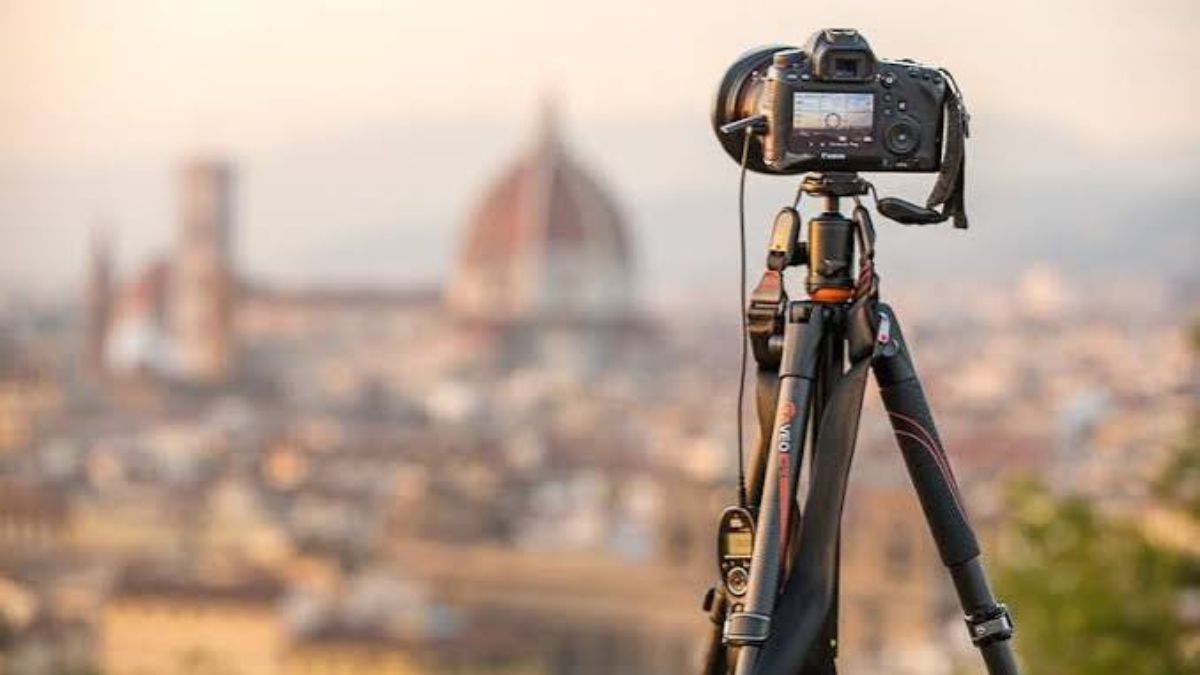
Finding the best tripod for travel photography can feel surprisingly tricky. There are hundreds of options out there, and most of them promise the same thing: lightweight, sturdy, and easy to carry. But not every tripod actually delivers on that promise once you’re hiking up a trail or squeezing through an airport with limited luggage space.
If you’ve ever lugged around a heavy tripod only to leave it in your hotel room because it felt like a burden, you already understand the problem. Travel photography demands gear that works with you, not against you.
This guide breaks down everything you need to know before buying a travel tripod, including what actually matters, common mistakes to avoid, and how to pick the right one for your specific shooting style.
What Makes a Tripod Ideal for Travel Photography
A good travel tripod isn’t just a smaller version of a studio tripod. It needs to strike a balance between portability and stability, which are often at odds with each other.
Here’s what defines a solid travel-friendly tripod:
- Lightweight build – ideally under 3 pounds (1.4 kg)
- Compact folded size – should fit inside or attach to a backpack
- Sturdy leg locks – twist locks or flip locks that don’t loosen over time
- Load capacity – should comfortably support your camera and lens setup
- Quick setup – you shouldn’t need two minutes just to extend the legs
Photographers often forget that a tripod’s real job is to eliminate camera shake. If it wobbles in wind or on uneven terrain, it’s not doing its job, no matter how light it is.
Why Weight and Stability Both Matter
There’s a constant trade-off between how light a tripod is and how stable it remains. Carbon fiber tripods solve part of this problem because they’re lighter than aluminum but still rigid.
However, ultra-light tripods sometimes sacrifice too much stability. That’s why it’s important to check the maximum load capacity listed by the manufacturer, not just the weight of the tripod itself.
Types of Tripods Suited for Travel
Not all tripods are built the same way. Depending on your shooting habits, one type might suit you far better than another.
Carbon Fiber Tripods
Carbon fiber tripods are popular among frequent travelers because they absorb vibrations well and stay light. They cost more, but the reduced weight often makes a noticeable difference during long hikes or multi-day trips.
Aluminum Tripods
Aluminum tripods are more affordable and still fairly durable. They tend to be slightly heavier, which can be a downside if you’re flying with strict baggage limits.
Tabletop and Mini Tripods
These are great for content creators who shoot mostly with smartphones or lightweight mirrorless cameras. They’re compact enough to slip into a jacket pocket, though they lack the height needed for many landscape shots.
Travel Tripods with Twist Locks vs Flip Locks
Twist locks tend to be more compact and clean-looking, while flip locks allow faster setup. Some photographers swear by one over the other, but both work well if built with quality materials.
Key Features to Compare Before Buying
Choosing the right tripod often comes down to comparing a handful of core specifications. Below is a quick breakdown that highlights what actually matters.
| Feature | Why It Matters | Ideal Range for Travel |
|---|---|---|
| Weight | Impacts portability and fatigue during long walks | 1.5–3 lbs (0.7–1.4 kg) |
| Folded Length | Determines if it fits in carry-on luggage | Under 16 inches (40 cm) |
| Max Load Capacity | Ensures stability with your camera setup | At least 2x your gear’s weight |
| Material | Affects durability and vibration resistance | Carbon fiber preferred |
| Leg Sections | More sections mean smaller folded size but slightly less rigidity | 4–5 sections |
This table helps simplify decision-making, especially if you’re comparing multiple models side by side.
Practical Examples of Travel Tripod Use Cases
Understanding real-world scenarios makes it easier to decide what you actually need.
- Landscape photographers often need taller tripods for elevated angles near cliffs or open fields.
- Street photographers usually prefer compact, quick-setup tripods for low-light shots in urban environments.
- Vloggers and content creators benefit from tripods with smooth panning heads for smooth video movement.
- Astrophotographers need sturdier tripods to handle long exposure shots without vibration blur.
Each of these use cases pushes you toward a slightly different tripod design, which is why “best” really depends on your shooting style.
Pros and Cons of Popular Travel Tripod Options
| Tripod Type | Pros | Cons |
|---|---|---|
| Carbon Fiber | Lightweight, vibration-resistant, durable | More expensive |
| Aluminum | Affordable, sturdy | Heavier, less travel-friendly |
| Tabletop/Mini | Extremely portable, fits in small bags | Limited height and versatility |
| Tripod with Ball Head | Fast angle adjustments, smooth movement | Can be less stable with heavier lenses |
Weighing these pros and cons against your typical shooting conditions will help narrow down your final choice much faster.
Common Mistakes Travelers Make When Choosing a Tripod
Even experienced photographers fall into a few predictable traps when picking travel gear.
- Choosing based on price alone instead of load capacity and build quality.
- Ignoring folded size, which later causes packing issues.
- Overlooking the head type, assuming all tripod heads perform the same.
- Buying a tripod too weak for their camera and lens combo, leading to shaky shots.
- Skipping quick-release plates, which slow down setup significantly in fast-paced shooting situations.
Avoiding these mistakes early can save you from buying a second tripod within a year, which happens more often than people expect.
Best Practices for Using a Travel Tripod Effectively
To get the most out of your tripod, keep these practices in mind:
- Always check leg locks before shooting to avoid mid-shot collapses.
- Extend the thickest leg sections first for maximum stability.
- Use a hook (if available) to hang additional weight during windy conditions.
- Avoid fully extending the center column unless absolutely necessary, since it reduces stability.
- Clean the legs after shooting near sand, saltwater, or mud to prevent long-term damage.
These small habits extend the lifespan of your tripod and improve the consistency of your shots.
How to Match a Tripod to Your Camera Setup
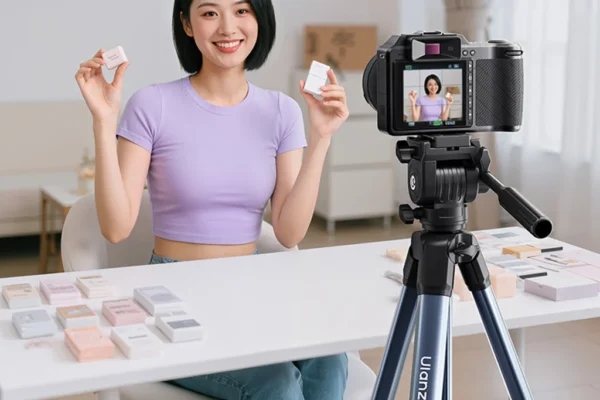
Your camera and lens combination plays a bigger role in tripod selection than most people realize. A mirrorless camera with a light prime lens needs far less support than a DSLR with a heavy zoom lens.
Before buying, weigh your entire setup, including any accessories like microphones or flashes, and compare that number against the tripod’s rated load capacity. A good rule of thumb is to choose a tripod that can support at least twice your actual gear weight for extra stability.
Conclusion
Choosing the best tripod for travel photography really comes down to understanding your own shooting habits and matching them with the right blend of weight, stability, and portability. There’s no single “perfect” tripod for everyone, but there is a perfect one for your specific needs.
Take time to consider your camera setup, your typical travel style, and how much you’re willing to carry before making a final decision. A well-chosen tripod doesn’t just protect your gear, it elevates the quality of your photography wherever your travels take you.
Frequently Asked Questions
1. What is the ideal weight for a travel tripod?
Most travel tripods weigh between 1.5 and 3 pounds, offering a good balance between portability and stability.
2. Is carbon fiber really worth the extra cost?
Yes, especially for frequent travelers, since carbon fiber reduces weight while maintaining strong vibration resistance.
3. Can I use a travel tripod for professional photography?
Absolutely. Many professional photographers use travel tripods for outdoor shoots, as long as the load capacity matches their gear.
4. How tall should a travel tripod be?
A tripod that extends to at least eye level (around 55–60 inches) is usually ideal for comfortable shooting angles.
5. Do I need a tripod with a ball head or a pan-tilt head?
Ball heads are great for photography due to quick adjustments, while pan-tilt heads work better for smooth video panning.
/ You May Also Read /
How to Take a Stunning Dinner Photo: Tips, Tricks, and Common Mistakes to Avoid
15 Best Places to Take Pictures Near Me for Stunning Photos in 2025
Travel photography has a way of turning a simple trip into a lifelong memory. Whether you’re wandering through a foreign city or hiking a quiet trail, the right shot can capture a feeling words never could. But great travel photography isn’t just about owning an expensive camera. It’s about knowing how to see a scene, understanding light, and telling a story with every frame. In this guide, we’ll walk through everything you need to start capturing photos that actually reflect the magic of your travels.
What Is Travel Photography?
Travel photography is the art of documenting places, people, cultures, and experiences while traveling. It combines elements of landscape, street, portrait, and documentary photography into one flexible style.
Unlike studio photography, travel photography happens in unpredictable environments. You’re working with changing light, moving crowds, and limited time. That’s exactly what makes it exciting.
Why Travel Photography Matters More Than Ever
Social media and travel blogs have turned photos into a universal language. A single compelling image can:
- Inspire someone to visit a destination
- Preserve a memory in vivid detail
- Tell a cultural story more powerfully than text
- Build a personal or professional portfolio
Good photography also helps you slow down while traveling. Instead of rushing past a moment, you pause to notice details you’d otherwise miss.
Essential Gear for Travel Photography
You don’t need the most expensive setup to get great results. What matters is choosing gear that fits your travel style.
Camera Options
| Camera Type | Best For | Pros | Cons |
|---|---|---|---|
| Smartphone | Casual travelers, quick shots | Lightweight, always available | Limited zoom and low-light performance |
| Mirrorless Camera | Most travelers | Compact, high image quality | Moderate learning curve |
| DSLR | Serious hobbyists/pros | Excellent image quality, lens variety | Bulky, heavier to carry |
| Action Camera | Adventure travel | Durable, wide-angle shots | Lower detail in still photos |
Other Useful Gear
- A lightweight tripod for stability
- Extra batteries and memory cards
- A polarizing filter to reduce glare
- A padded camera bag for protection
How to Compose Better Travel Photos
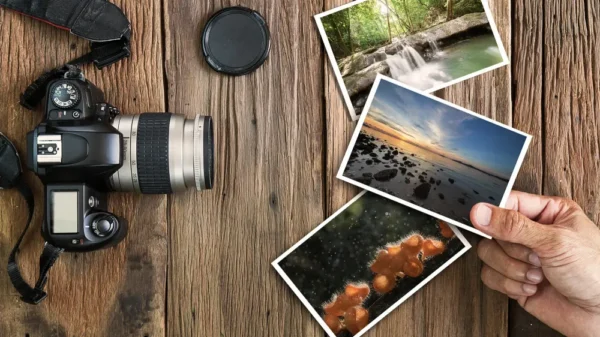
Composition is often what separates an average photo from a striking one. A few timeless techniques can instantly improve your shots.
Rule of Thirds
Imagine your frame divided into a 3×3 grid. Placing your subject along these lines, instead of dead center, creates a more natural and balanced photo.
Leading Lines
Roads, rivers, staircases, and fences naturally draw the eye toward your subject. Use them to guide viewers through the image.
Framing
Doorways, arches, and tree branches can act as a natural frame, adding depth and context to your shot.
Mastering Light While Traveling
Light shapes every photo you take, and travel photography often means working with unpredictable conditions.
Golden Hour
The hour after sunrise and before sunset offers soft, warm light that flatters almost any scene. Many professional travel photographers plan their shoots around this window.
Harsh Midday Light
Midday sun creates strong shadows and blown-out highlights. If you must shoot then, look for shaded areas or use a diffuser.
Blue Hour
The period just before sunrise or after sunset gives a cool, moody tone that’s perfect for cityscapes and architecture.
Capturing People and Culture Respectfully
Some of the most memorable travel photos feature local people and daily life. However, this requires sensitivity.
- Always ask permission when possible
- Learn a few local phrases to build rapport
- Avoid photographing people in vulnerable or private moments
- Offer to share the photo if you can
Respectful photography builds trust and often leads to more genuine, natural shots.
Editing Travel Photos Without Overdoing It
Editing enhances a photo, but shouldn’t replace good technique. A few adjustments usually go a long way.
| Editing Step | Purpose | Recommended Adjustment |
|---|---|---|
| Exposure | Balance brightness | Slight increase or decrease as needed |
| Contrast | Add depth | Moderate boost |
| White Balance | Correct color tones | Adjust to match natural lighting |
| Cropping | Improve composition | Remove distracting elements |
| Saturation | Enhance color | Subtle increase, avoid oversaturation |
Over-editing can make photos look unnatural. Aim for enhancements that stay true to the original scene.
Practical Example: Planning a Photo-Focused Day Trip
Imagine you’re visiting a coastal town for one day. A simple plan might look like this:
- Arrive early to catch golden hour light on the harbor
- Explore the local market for candid street shots
- Rest during midday and review your shots
- Head to a viewpoint before sunset for landscape photos
- Capture the town lights during blue hour
This structure ensures you’re shooting during the best light while still enjoying the destination.
Pros and Cons of Travel Photography
Pros:
- Creates lasting personal memories
- Builds a creative skill you can use anywhere
- Opens opportunities for blogging or freelance work
- Encourages mindful, present-moment travel
Cons:
- Extra gear can add travel weight
- Time spent shooting may reduce time exploring
- Editing can become time-consuming
- Weather and lighting aren’t always predictable
Common Mistakes to Avoid
- Relying only on zoom instead of moving closer
- Ignoring the background clutter behind your subject
- Shooting everything at eye level
- Overpacking gear you rarely use
- Skipping backup storage for photos
Avoiding these mistakes can immediately improve the quality and consistency of your shots.
Best Practices for Better Results
- Scout locations in advance using maps or travel blogs
- Shoot in RAW format for better editing flexibility
- Back up photos daily during long trips
- Experiment with different angles and perspectives
- Focus on storytelling, not just scenery
Conclusion
Travel photography is about more than pretty pictures. It’s about noticing details, understanding light, and telling authentic stories through your lens. With the right gear, thoughtful composition, and a respectful approach to capturing people and culture, anyone can improve their skills over time. The next trip you take is a perfect opportunity to put these techniques into practice.
/ You May Also Read /
Eye of Photography: Understanding the Art, Vision, and Skills Behind Great Images
-
 Photography Tips2 weeks ago
Portraits and Photography: Your Complete Guide to Capturing Stunning Images in 2026
-
 Photography Tips1 month ago
Photography in the Studio: Essential Tips and Setup Guide for Better Shots
-

 Photography Tips2 weeks ago
Photography Locations Near Me: Best UK Spots to Visit in 2026
-
 Photography Tips2 weeks ago
Photography Places Near Me: Top 10 Hidden Gems in the UK You Need to Shoot
-
 Lifestyle2 months ago
Family Photography: Best Poses, Locations & Expert Tips for Stunning Shots
-
 Photography Tips1 month ago
Challenges of Photography: Common Obstacles Every Photographer Faces and How to Overcome Them
-
 Photography Tips1 month ago
Beginner Photography Camera Guide: How to Choose the Perfect First Camera
-
 Photography Tips1 month ago
Drone Photography Near Me: How to Find the Best Aerial Photography Services in Your Area